Disclosure: As an Amazon Associate, I earn from qualifying purchases. If you click and make a purchase, I may receive a small commission at no additional cost to you.
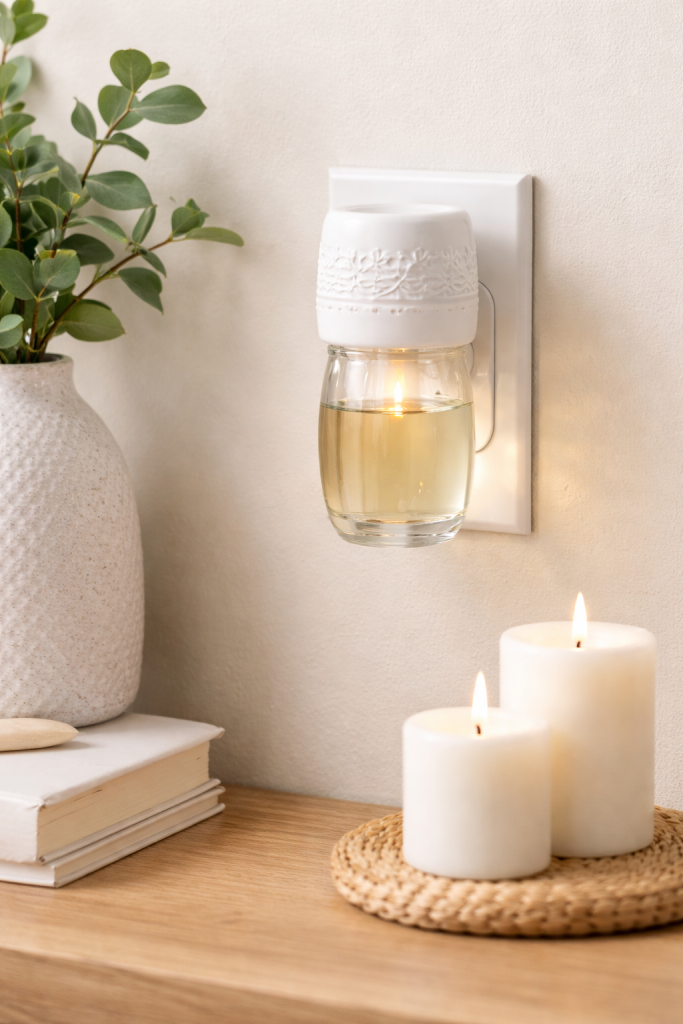
DIY plug-in refills can be safe — but only when they’re made correctly.
Most safety concerns don’t come from the plug-in device itself. They come from using the wrong ingredients, incorrect dilution ratios, or liquids that were never designed to be heated.
When you use the proper base oil and the correct mixing ratio, DIY plug-in refills can perform just as safely as store-bought versions.
In this guide, you’ll learn:
- What actually makes plug-ins unsafe
- Which ingredients you should never use
- The safest base oil option
- How to mix DIY refills properly
Are DIY Plug-In Refills Inherently Unsafe?
No. DIY plug-in refills are not unsafe by default.
Store-bought refills rely on simple principles:
- Controlled, steady heat
- A wick that draws liquid upward
- A stable carrier oil
- A balanced fragrance concentration
Problems happen when DIY versions ignore those same principles.
Safety depends on:
- Ingredient choice
- Liquid consistency
- Fragrance concentration
- Proper use of the plug-in device
If you’re noticing your refills fading quickly rather than causing safety concerns, this guide explains why that happens and how to fix it:
👉 Why DIY Plug-In Air Fresheners Stop Working After a Few Days
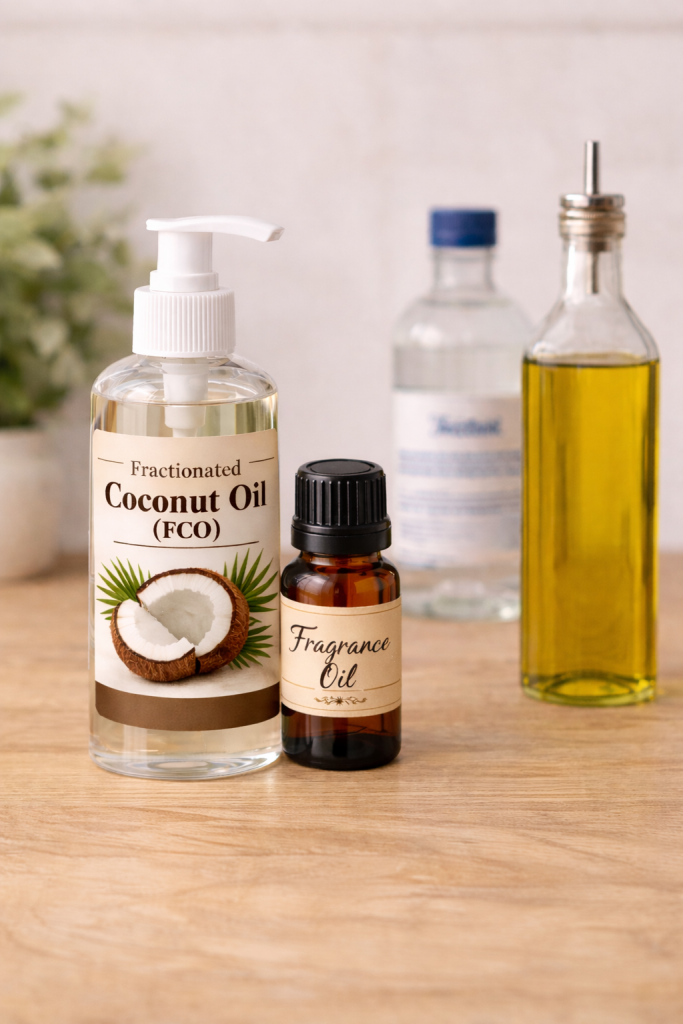
The Safest Base for DIY Plug-In Refills
The most important safety factor is the base oil.
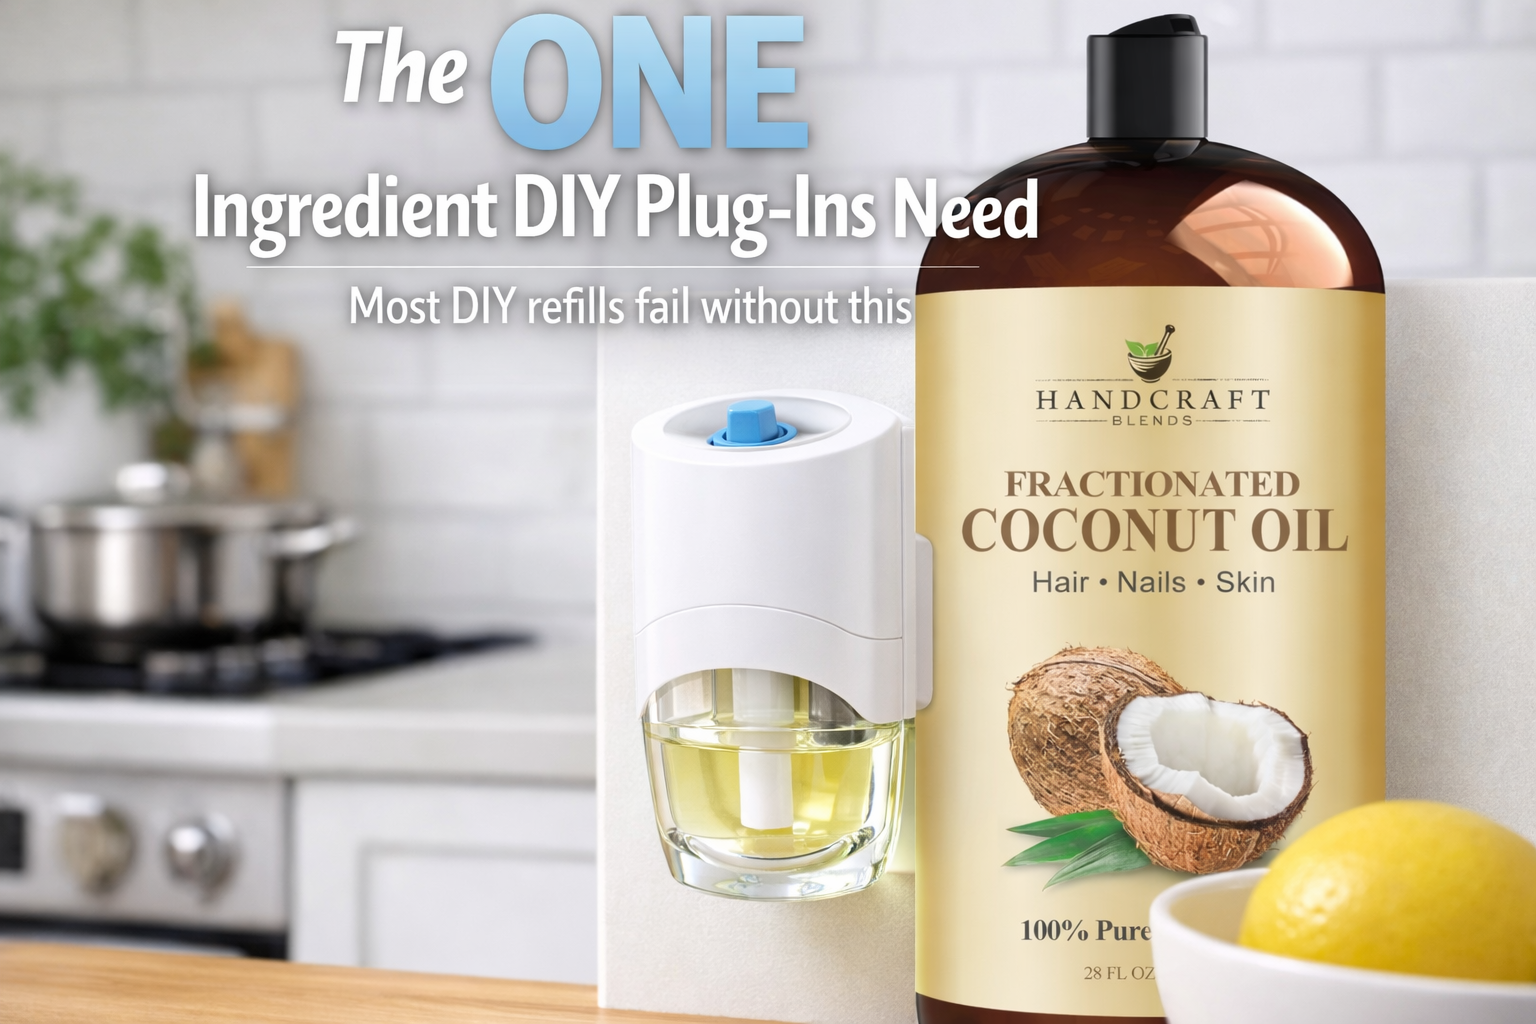
The safest option for most DIY plug-in refills is:
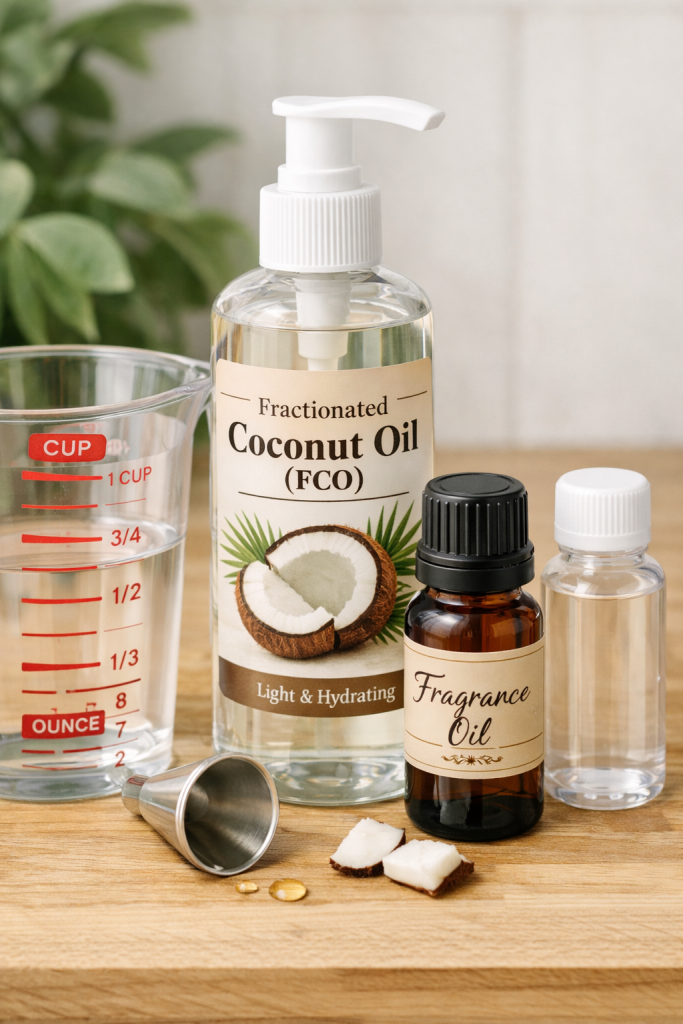
👉 Fractionated Coconut Oil (FCO)
Why?
- Lightweight and stable
- Nearly odorless
- Slower evaporation than alcohol
- Less likely to clog wicks
- Designed to carry fragrance evenly
When combined with fragrance oil at the correct ratio — 75% fractionated coconut oil and 25% fragrance oil — it provides consistent diffusion without overheating or burning off too quickly.
If you’re unsure how to mix it properly, here’s the full breakdown:
👉 The One Ingredient That Makes DIY Plug-In Refills Actually Work
If you don’t already have a high-quality fractionated coconut oil, this is the one that works best for plug-in refills:
👉 Check current price on Amazon
Ingredients You Should Never Use in Plug-Ins
Some common DIY ingredients can create real safety issues when heated.
Water
Water does not diffuse properly in plug-in devices. It can interrupt evaporation, cause uneven heating, and potentially damage internal components.
Alcohol
Alcohol evaporates too quickly and can burn hotter than intended. It is not recommended for heated plug-in devices and may increase the risk of overheating.
Thick or Cooking Oils
Oils like olive oil, vegetable oil, or other heavy cooking oils are too thick. They can clog the wick, restrict airflow, and interfere with proper evaporation.
If a liquid was not designed for controlled evaporation, it should not be used in a heated plug-in system.
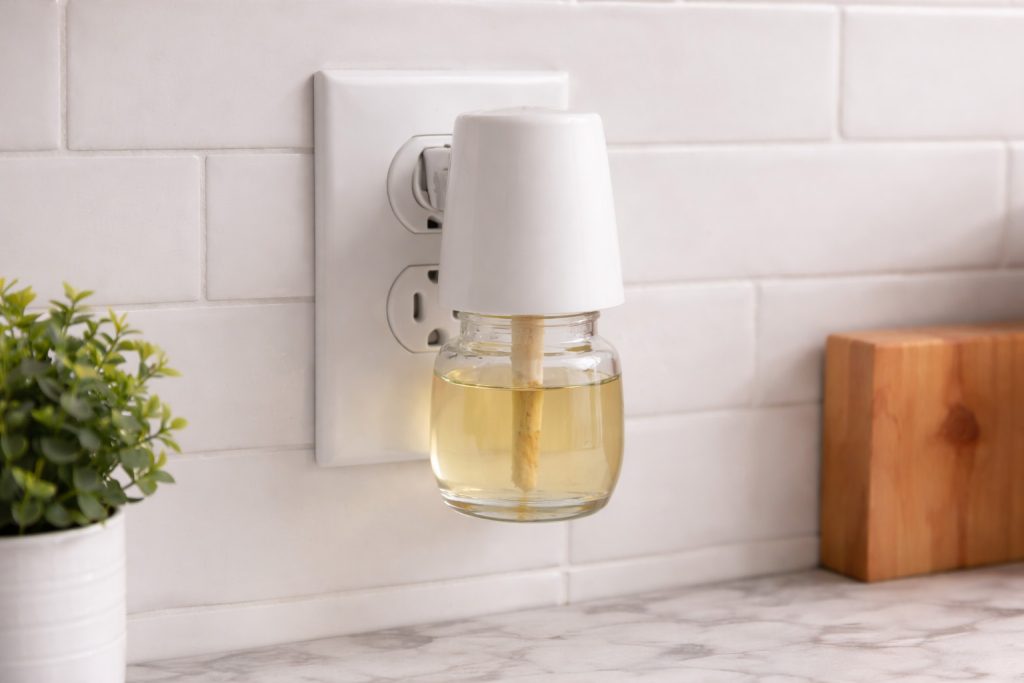
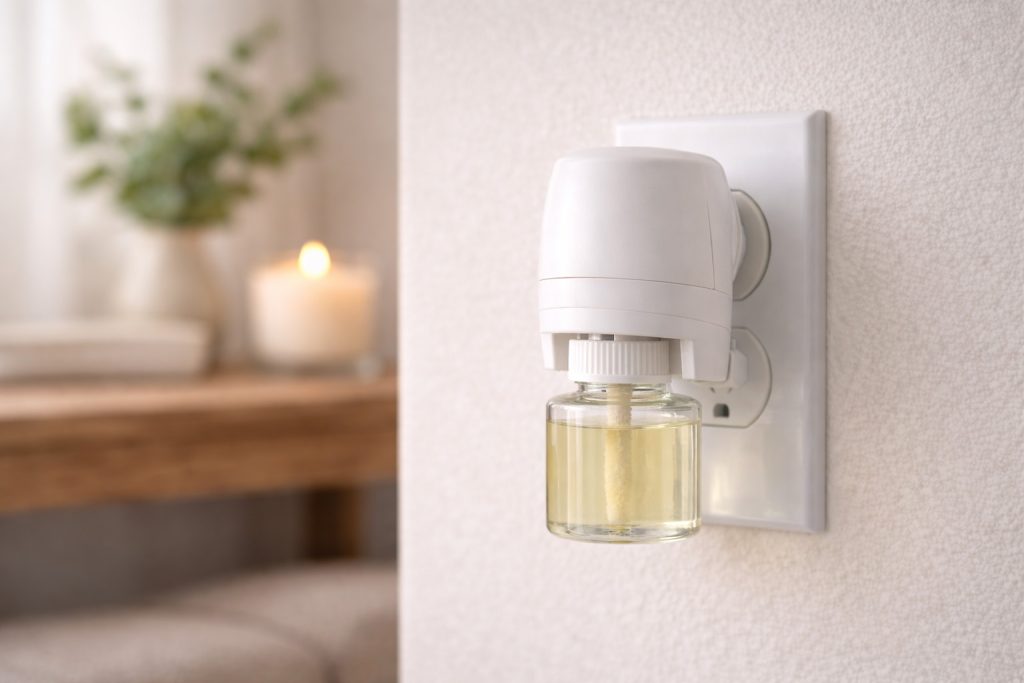
Why the Wick Matters for Safety
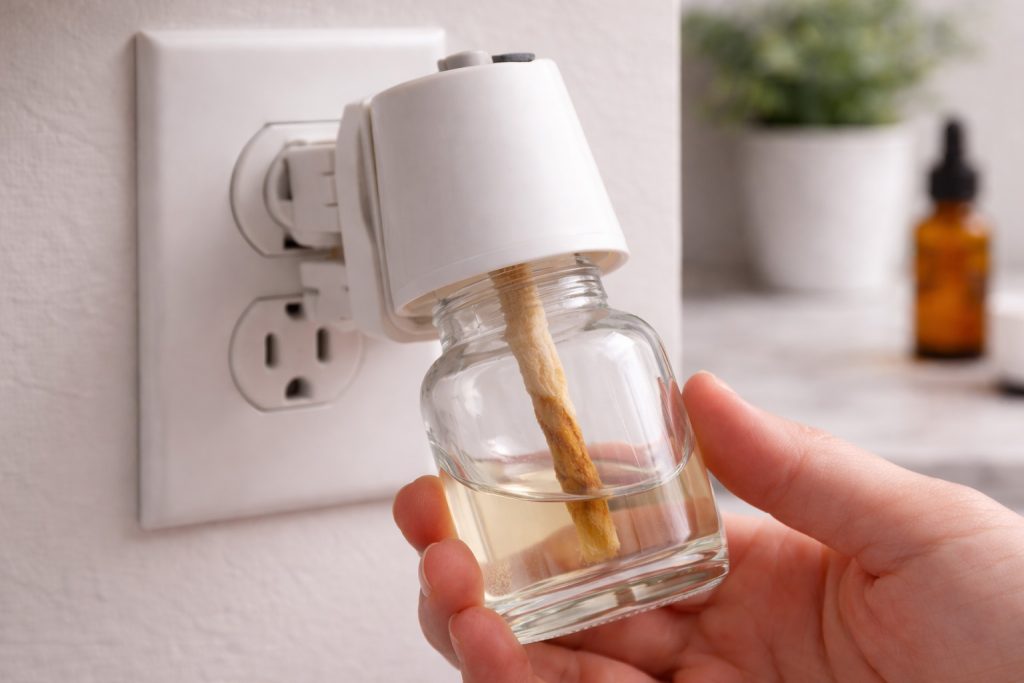
Plug-in devices rely on a wick to draw liquid upward for gradual evaporation.
If the liquid is:
- Too thick → the wick can clog
- Too thin → it evaporates too quickly
- Improperly mixed → it diffuses unevenly
Using a stable carrier oil like fractionated coconut oil and maintaining a 75/25 blend helps protect the wick and ensures consistent performance.
Essential Oil Safety in Plug-Ins
Essential oils can be used in plug-in refills, but concentration matters.
Using too much can cause:
- Strong, overwhelming scent
- Faster evaporation
- Increased wick stress
Safer use means:
- Keeping fragrance concentration controlled (25% or less)
- Using high-quality oils
- Avoiding unknown additives
More oil does not mean better performance.
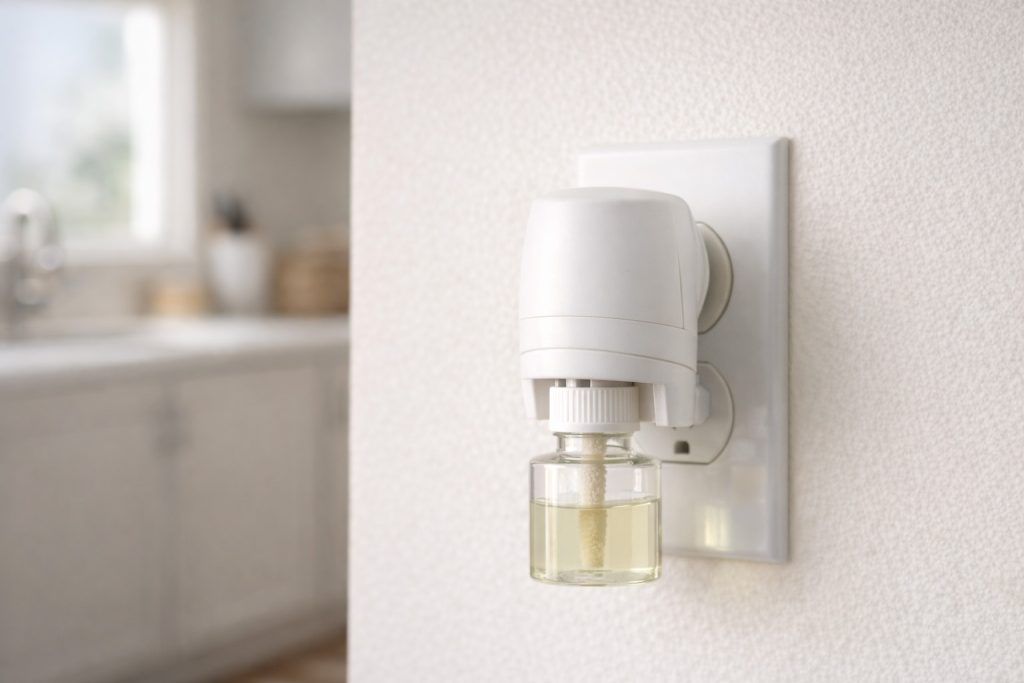
Can DIY Plug-In Refills Damage the Device?
Damage usually occurs when:
- The wrong liquids are used
- The wick becomes clogged
- The device is overfilled
- Improper ingredients create residue
When refills are formulated correctly and the device is used as instructed, damage risk is minimal.
If a plug-in stops working properly, unplug it and inspect the wick and bottle.
How to Use DIY Plug-In Refills Safely
Follow these basic guidelines:
- Use only appropriate carrier oils
- Maintain a 75% base oil / 25% fragrance ratio
- Avoid overfilling the bottle
- Keep devices upright at all times
- Replace wicks if they appear clogged
Proper formulation determines safety — not whether it’s DIY.
When DIY Plug-Ins May Not Be a Good Idea
DIY refills may not be appropriate if:
- You are sensitive to essential oils
- You prefer non-heated fragrance systems
- You are unwilling to measure ratios accurately
In those cases, consider reed diffusers or other non-heated fragrance options.
The Bottom Line: DIY Plug-Ins Are Safe When Made Correctly
They become unsafe when:
- The wrong ingredients are used
- Ratios are incorrect
- Devices are misused
Using a proper base like fractionated coconut oil and maintaining a 75/25 blend significantly reduces common safety risks.
If you want to make sure your refills are mixed correctly and perform consistently, start here:
👉 The One Ingredient That Makes DIY Plug-In Refills Actually Work
With the right ingredients and method, DIY plug-ins can be both safe and effective.