Disclosure: This post may contain affiliate links. If you click and make a purchase, I may earn a small commission at no extra cost to you.
Homemade vanilla extract is one of the most impressive edible gifts you can give — and one of the simplest to make.
Two ingredients. Five minutes of hands-on time. Then you wait.
That waiting period is why timing matters. Vanilla extract needs at least 8 to 12 weeks of steeping to develop full flavor. If you want bottles ready for holiday gifting, the latest you should start is early October. Starting in summer gives you the richest, deepest extract by December.
This guide covers the full process: what to buy, how to make it, how to bottle it for gifting, and how to time everything so your bottles are ready when you need them.
What You Need
The ingredient list is short. The quality of what you buy is what determines the quality of your extract.
Vanilla beans. You need 3 to 5 beans per cup (8 oz) of alcohol. For gift bottles, plan on making a large batch and dividing it into smaller bottles later.
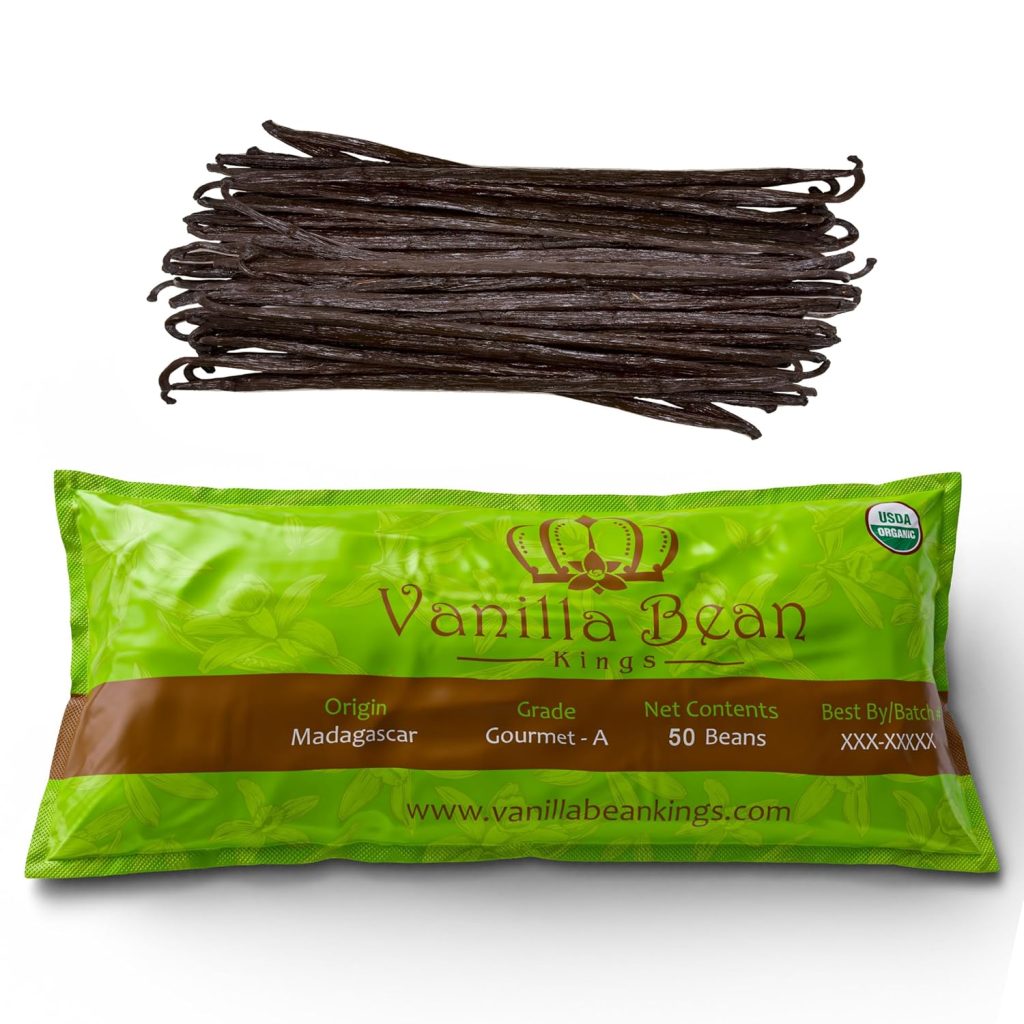
The best beans for extract are Grade B — also called “extract grade.” These are drier and less photogenic than Grade A, but they have higher vanillin concentration, which means stronger flavor. Grade A beans are for garnishing desserts and look beautiful, but for extract, Grade B gives you more flavor per dollar.
For extract, Madagascar Bourbon beans are the classic choice — rich, creamy, and universally loved in baking. Tahitian beans are floral and fruity, which some bakers prefer for lighter desserts.
👉 Check current prices on Madagascar Grade B vanilla beans on Amazon
Alcohol. Vodka is the standard because it has a neutral flavor that lets the vanilla shine. You do not need expensive vodka — the cheapest 80-proof bottle at the store works perfectly. The vanilla beans are doing all the flavor work.
Bourbon and rum are popular alternatives that add their own flavor notes. Bourbon gives a warm, caramel-oak character. Rum adds sweetness. Both produce excellent extract, but vodka gives the purest vanilla flavor.
Whatever you choose, it must be at least 70 proof (35% alcohol). Anything lower will not extract the vanillin effectively. 80-proof is ideal.
Glass bottles. For gifting, small amber glass bottles in the 2 to 4 ounce range look professional and protect the extract from light, which degrades vanillin over time.
👉 Check amber glass bottles with caps on Amazon
You will also need:
- A sharp knife and cutting board for splitting beans
- A funnel for filling bottles
- A large mason jar for the steeping batch (quart size works well for most gift batches)
👉 Check wide-mouth mason jars on Amazon
Step-by-Step: Making the Extract
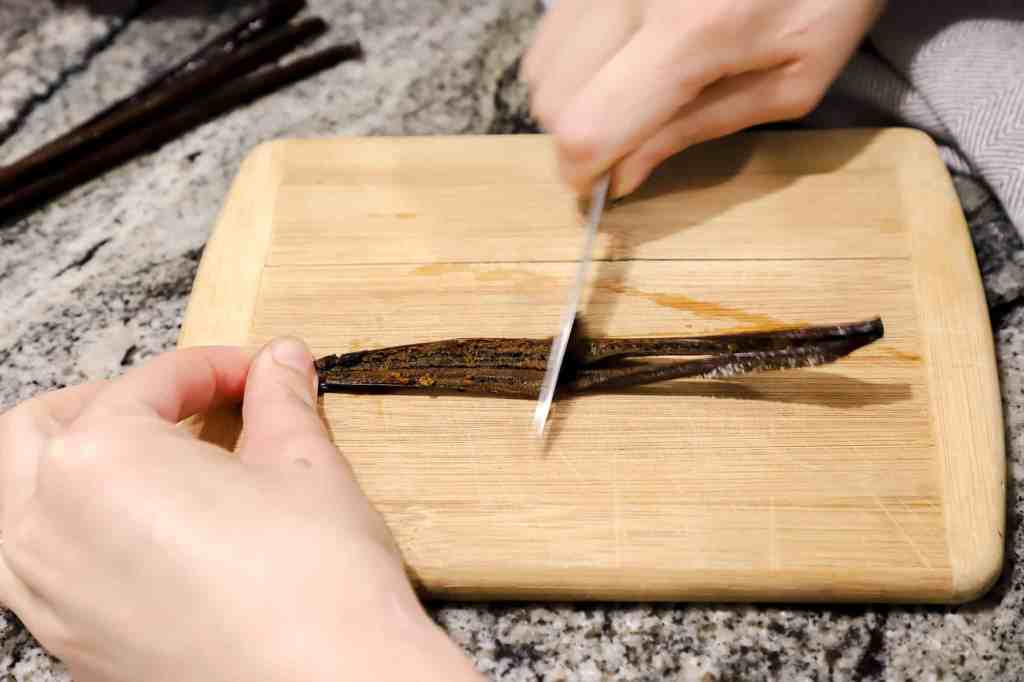
Step 1: Split the beans. Lay each vanilla bean on a cutting board and slice it lengthwise down the center with a sharp knife. You do not need to cut all the way through — just open it enough to expose the seed cavity inside. This dramatically increases the surface area and speeds extraction.
Step 2: Add beans to the jar. Place the split beans into your large steeping jar. For a quart (32 oz) batch, use 12 to 20 beans depending on how strong you want the extract.
Step 3: Pour the alcohol. Fill the jar with vodka (or your chosen alcohol) until the beans are fully submerged. Close the lid tightly.
Step 4: Store and shake. Place the jar in a cool, dark location — a pantry shelf or kitchen cabinet works perfectly. Shake the jar once a week to redistribute the vanillin and speed extraction.
Step 5: Wait. This is the hard part. The extract needs time.
The Steeping Timeline: What to Expect
Understanding what your extract should look like at each stage helps you know whether it’s developing properly — or whether something needs adjusting.
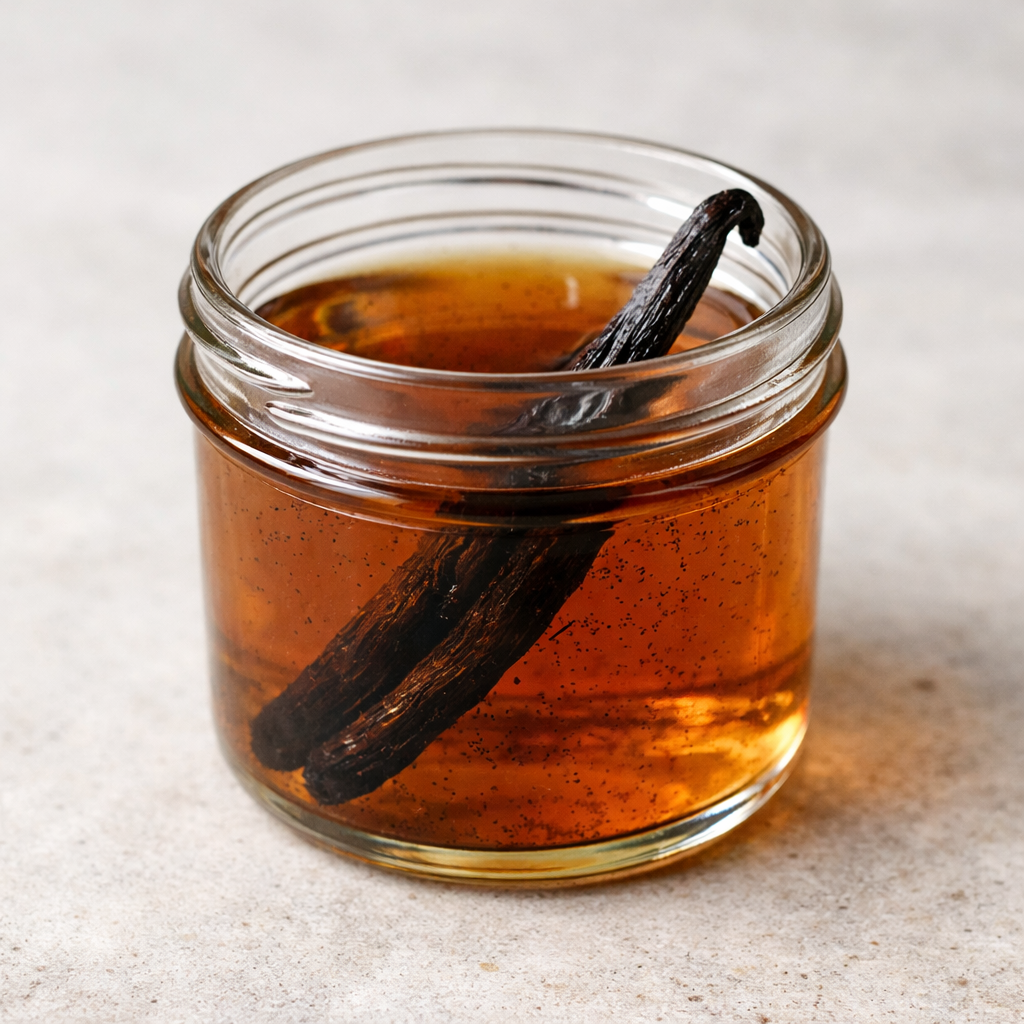
Week 2 to 4: The liquid turns pale gold to light amber. It smells mostly like alcohol with faint vanilla notes. This is normal. It is not ready to use yet.
Week 6 to 8: The color deepens to medium amber. The vanilla aroma becomes more noticeable when you open the jar. The extract is approaching usable strength for cooking, though it will continue improving.
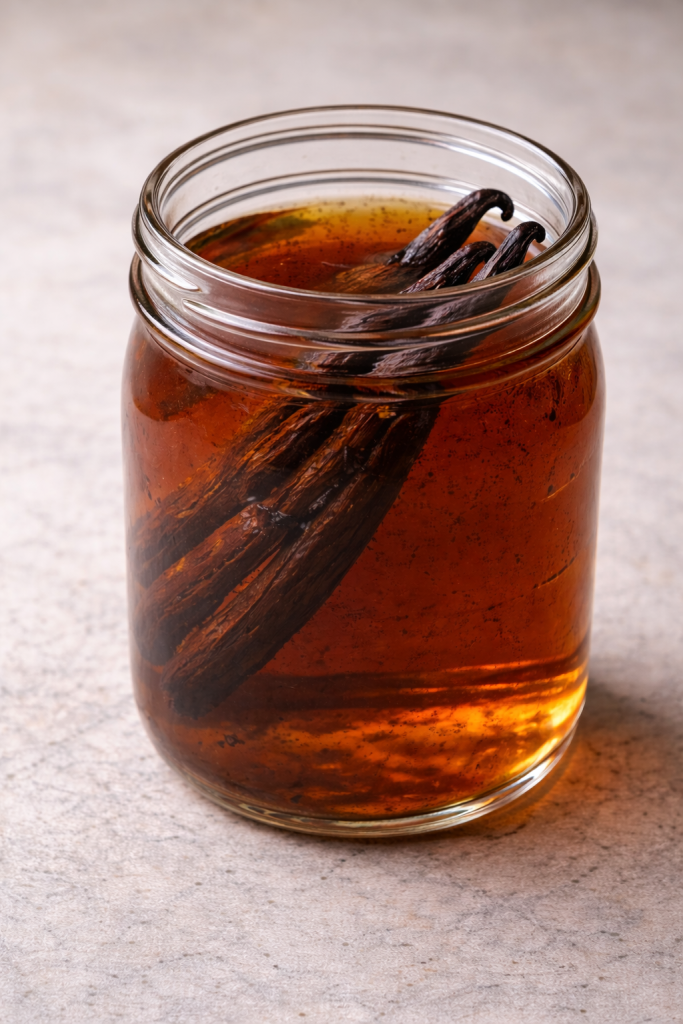
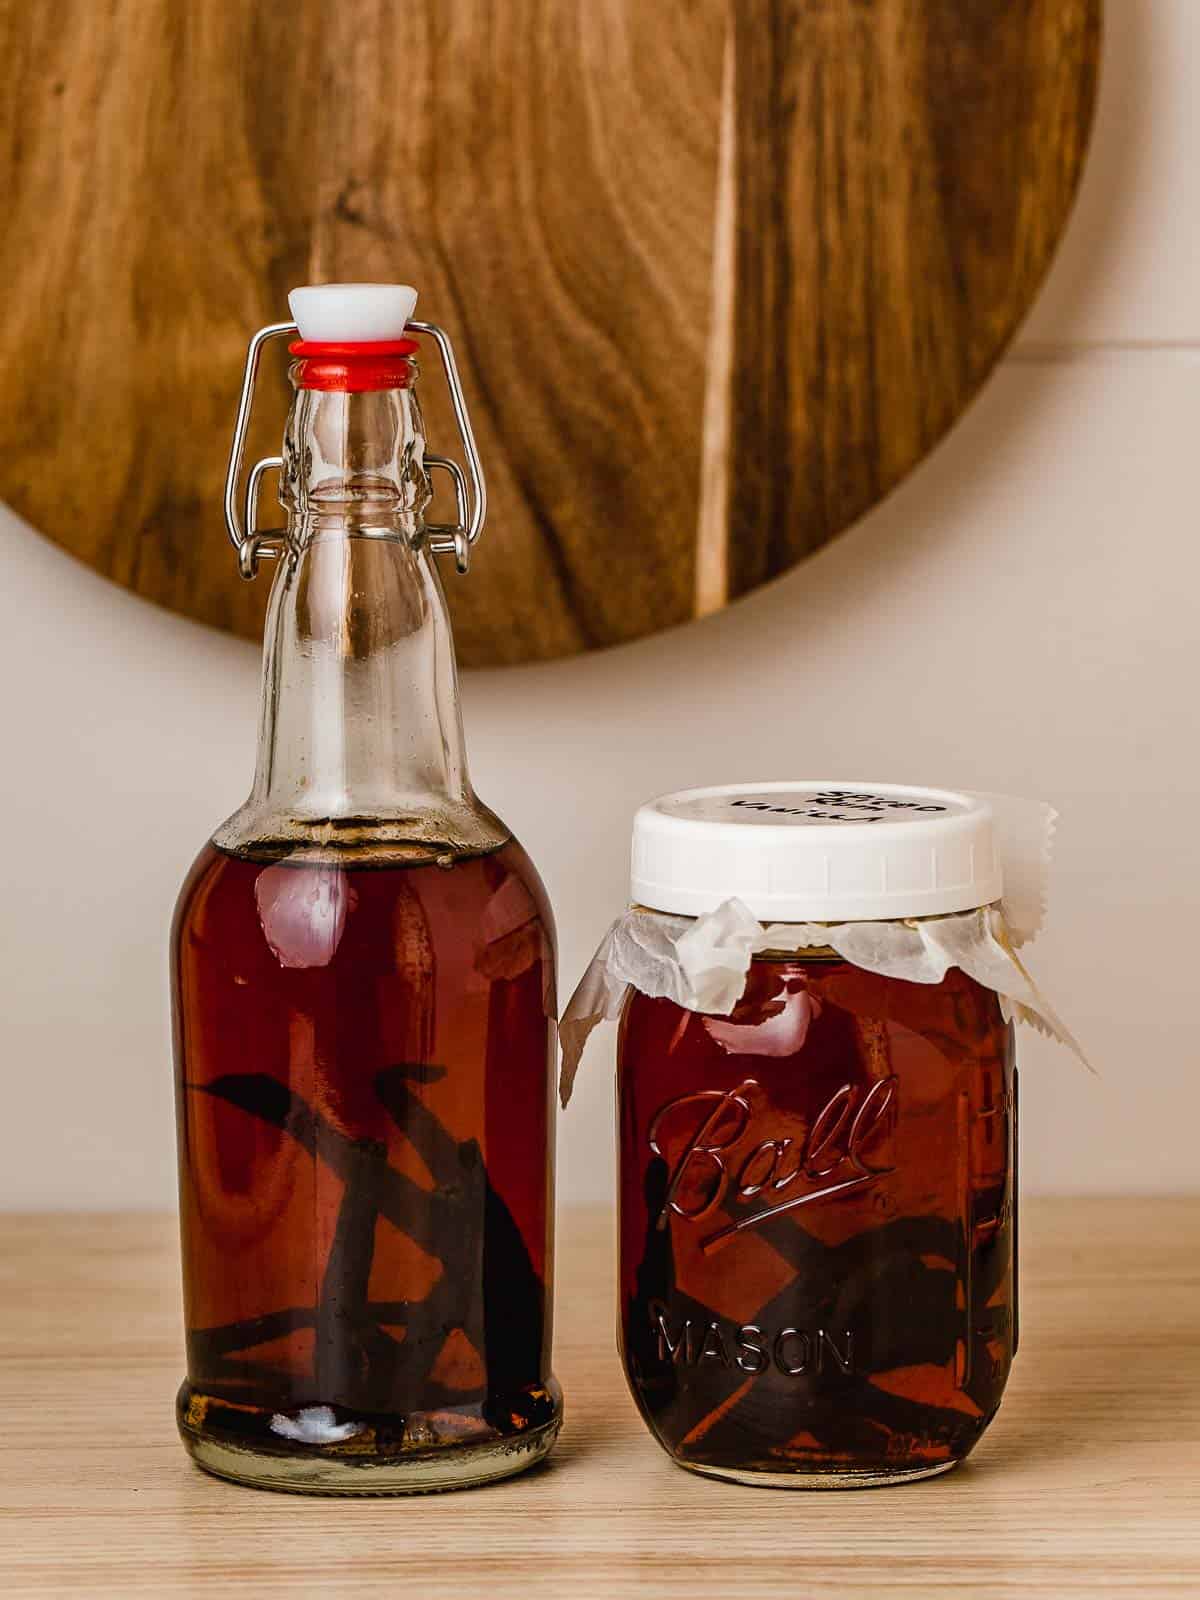
Week 8 to 12: The color is rich amber to dark brown. The aroma when you open the jar is deep vanilla with minimal alcohol smell. This is the sweet spot for gifting — strong enough for baking, beautiful color in the bottle.
Month 4 and beyond: The extract continues darkening and intensifying. Vanilla extract does not expire. It gets better with age. A 6-month or 12-month extract has extraordinary depth of flavor.
If your extract is still pale and weak-smelling after 8 weeks, you likely need more beans. Add 2 to 3 additional split beans and give it another 2 to 4 weeks.
For a deeper dive into why homemade vanilla stays weak:
👉 Why Homemade Vanilla Stays Weak (And What Actually Affects Flavor)
How to Bottle for Gifts
Once your extract has reached the color and strength you want (minimum 8 weeks), it’s time to divide it into gift bottles.
Strain if desired. Pour the extract through a coffee filter or fine mesh strainer to remove any loose seeds or sediment. This step is optional — some people prefer to leave the seeds in for a rustic, artisanal look.
Fill the gift bottles. Use a small funnel to pour extract into your amber glass bottles. Fill to about a half inch below the top to leave room for a cork or cap.
Add a bean for presentation (optional). Dropping one whole vanilla bean into each gift bottle adds visual impact and signals quality. Use a Grade A bean for this — it looks better than Grade B.
Label your bottles. A simple handwritten tag or printed label with the date, the bean origin (Madagascar, Tahitian, etc.), and the alcohol used gives the gift a professional touch. Free printable vanilla extract labels are widely available online if you want a polished look.
Gift Presentation Ideas
Homemade vanilla extract already looks impressive in an amber bottle. A few small additions elevate it to a standout gift:
Tie a ribbon or twine around the neck of the bottle. Natural jute twine or a simple satin ribbon in a seasonal color works well.
Include a recipe card. Write or print your favorite recipe that uses vanilla — sugar cookies, vanilla buttercream, French toast, or vanilla bean ice cream. This gives the recipient a way to use the extract immediately.
Pair it with other baking essentials. A bottle of extract alongside a bag of high-quality chocolate chips, a set of measuring spoons, or a vanilla sugar recipe creates a small gift set that feels curated and thoughtful.
Group bottles in a small basket or box. If you’re making multiple bottles for different people, presenting them in a lined box with tissue paper creates a beautiful display.
Timing Guide for Holidays
Work backward from when you need the bottles ready:
For Thanksgiving gifts: Start steeping by mid-August at the latest. September 1 gives you 12 weeks — enough for rich, usable extract.
For Christmas and holiday gifts: Start by early October for 8 to 10 weeks of steeping. Starting in August or September gives even better results.
For Valentine’s Day or Easter: Start by early December. Winter steeping tends to be slightly slower if your house is cooler, so earlier is better.
For teacher appreciation gifts (May): Start by February.
The earlier you start, the stronger the extract. There is no downside to starting sooner.
Choosing the Right Beans
The type of bean you choose changes the flavor profile of the finished extract.
Madagascar Bourbon — The classic. Rich, creamy, full-bodied vanilla flavor. This is what most people think of when they think “vanilla.” Best for cookies, cakes, ice cream, and general baking. This is the safest choice for gifts because it works in everything.
Tahitian — Floral, fruity, slightly cherry-like. Beautiful in lighter desserts like panna cotta, custard, whipped cream, and fruit-based baking. More delicate than Madagascar.
Mexican — Bold, smoky, slightly spicy. Excellent in chocolate desserts and recipes with warm spice profiles. Less common but prized by experienced bakers.
Indonesian — Woody, earthy, strong. Good for recipes where vanilla needs to stand up to other bold flavors.
For most gifting purposes, Madagascar Bourbon is the right choice. It’s universally appealing and produces the most recognizable vanilla flavor.
For more detail on bean selection:
👉 Best Vanilla Beans for Homemade Extract (Grade A vs Grade B)
How Much Does It Cost?
Homemade vanilla extract costs significantly less than store-bought pure vanilla per ounce — especially when you buy beans in bulk.
A rough breakdown:
- 20 Grade B Madagascar beans (enough for a quart batch): approximately $15 to $25 on Amazon
- One 750ml bottle of bottom-shelf vodka: approximately $8 to $12
- Total cost for roughly 32 oz of extract: $23 to $37
- Cost per ounce: approximately $0.72 to $1.16
Compare that to store-bought:
- McCormick Pure Vanilla Extract: approximately $4 to $6 per ounce
- Specialty single-origin extract: $8 to $15 per ounce
Homemade extract costs roughly one-third to one-fifth of store prices and produces a superior product. When divided into 2 oz gift bottles, each bottle costs about $1.50 to $2.50 in materials — making it one of the most affordable impressive gifts you can give.
Keeping Your Extract Going Indefinitely
The best thing about homemade vanilla extract is that it never truly runs out.
When you use some extract from the steeping jar, top it off with more vodka. When the beans start looking thin or pale, add a few fresh split beans. The jar becomes a living system that continuously produces extract.
Some people maintain a single extract jar for years, adding beans and alcohol as needed. The oldest layers of extract develop extraordinary depth that store-bought vanilla cannot match.
For a full guide on making extract that outperforms store-bought options:
👉 How to Make Homemade Vanilla Extract (Better Than Store-Bought)
Common Mistakes to Avoid
Using too few beans. Under-beaned extract stays weak no matter how long you steep it. Use at least 3 beans per cup of alcohol. More is better.
Using flavored vodka. Flavored vodka contains sugar and additives that interfere with clean extraction. Use plain, unflavored vodka only.
Storing in direct sunlight. Light degrades vanillin. Use amber bottles or store the steeping jar inside a cabinet.
Opening and tasting too frequently. Every time you open the jar, you introduce oxygen that can subtly affect the steeping process. Resist the urge to check constantly — shake it once a week, leave it alone otherwise.
Starting too late. Eight weeks is the minimum. Starting with only four weeks before a deadline produces extract that smells more like alcohol than vanilla. Give yourself at least 10 to 12 weeks for gift-quality results.
The Bottom Line
Homemade vanilla extract as a gift checks every box: it’s inexpensive, impressive, personal, practical, and genuinely better than what you can buy at the store. The only requirement is time.
Start a batch now. Set a reminder to bottle it in 8 to 12 weeks. You will have one of the most thoughtful gifts anyone on your list receives this year.
Related Guides
No, Artificial Vanilla Is Not Made From Beaver Glands (Here’s the Truth)
How to Make Homemade Vanilla Extract (Better Than Store-Bought)
Best Vanilla Beans for Homemade Extract (Grade A vs Grade B)
Why Homemade Vanilla Stays Weak (And What Actually Affects Flavor)